Understanding the Basics of Exposure Triangle: Aperture, Shutter Speed, ISO: 11xplay.com login, Lesar 247.com, Tiger 247 login
11xplay.com login, lesar 247.com, tiger 247 login: Understanding the Basics of Exposure Triangle: Aperture, Shutter Speed, ISO
If you want to take your photography skills to the next level, understanding the basics of the exposure triangle is essential. The exposure triangle consists of three key elements: aperture, shutter speed, and ISO. By mastering these three components, you can control the amount of light that enters your camera and create stunning images.
Aperture: The Key to Depth of Field
Aperture refers to the size of the opening in the lens that allows light to pass through to the camera sensor. It is measured in f-stops, with lower f-stop numbers indicating a larger aperture. A larger aperture lets in more light, while a smaller aperture lets in less light.
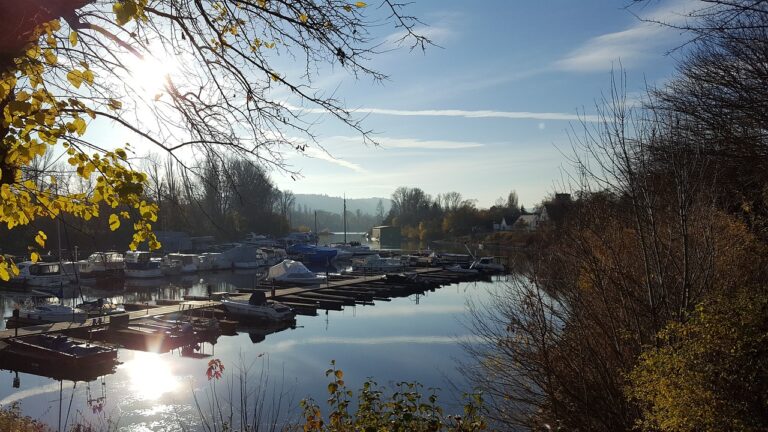
One of the key aspects of aperture is its effect on depth of field. A wider aperture (smaller f-stop number) results in a shallow depth of field, where the subject is in focus while the background is blurry. On the other hand, a smaller aperture (higher f-stop number) results in a deeper depth of field, where both the subject and background are in focus.
Shutter Speed: Freezing Motion or Creating Motion Blur
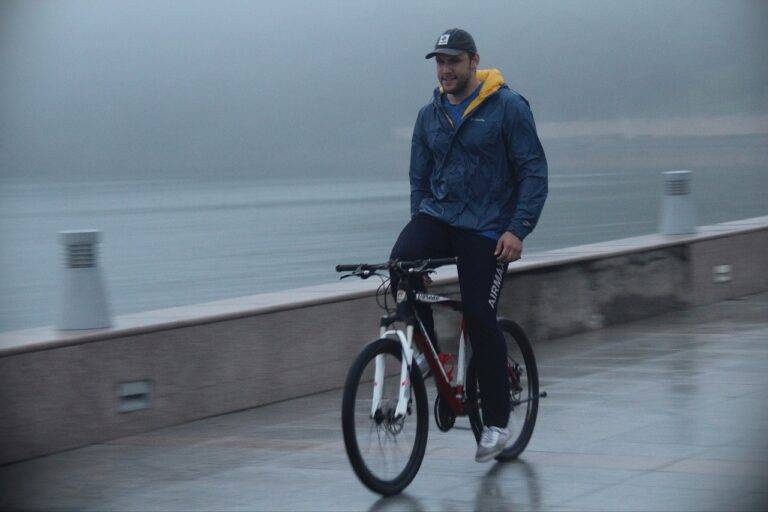
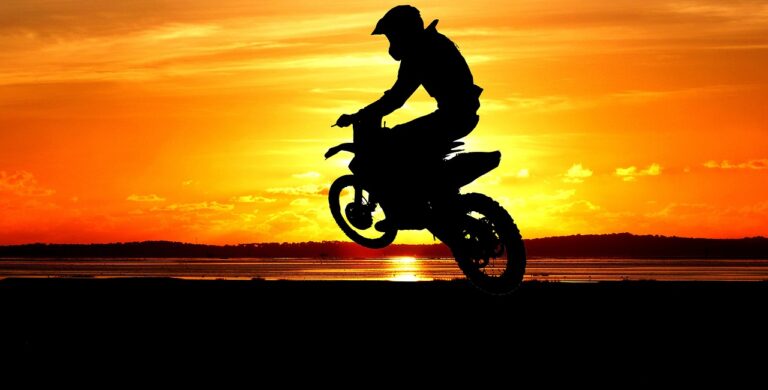
Shutter speed refers to the amount of time the shutter remains open when taking a photo. It is measured in seconds or fractions of a second. A faster shutter speed will freeze motion, while a slower shutter speed will create motion blur.
When shooting fast-moving subjects, such as sports or wildlife photography, a fast shutter speed is essential to freeze the action. On the other hand, when shooting landscapes or night photography, a slower shutter speed can create beautiful effects like light trails or silky smooth waterfalls.
ISO: Balancing Light Sensitivity and Image Quality
ISO measures the sensitivity of the camera sensor to light. A lower ISO number indicates low sensitivity, while a higher ISO number indicates high sensitivity. Increasing the ISO allows you to shoot in low light conditions, but it can also result in more noise or grain in your images.
It is important to find the right balance between ISO and image quality. In well-lit conditions, you can keep your ISO low to maintain sharp and clear images. In low light situations, you may need to increase the ISO to capture a properly exposed photo.
FAQs
Q: What is the best setting for aperture, shutter speed, and ISO?
A: The best settings will depend on the specific lighting conditions and the effect you want to achieve. Experimenting with different combinations of aperture, shutter speed, and ISO will help you find the perfect balance for each situation.
Q: How can I practice using the exposure triangle?
A: Practice makes perfect! Take your camera out and experiment with different settings in various lighting conditions. As you become more familiar with the exposure triangle, you will gain confidence in adjusting these settings on the fly.
Q: Can I use automatic modes on my camera instead of manual?
A: While automatic modes can be convenient, they may not always produce the best results. Learning to use manual mode gives you more control over your camera settings and allows you to unleash your creativity.
In conclusion, mastering the exposure triangle is essential for taking your photography skills to the next level. By understanding how aperture, shutter speed, and ISO work together, you can capture stunning images in any lighting conditions. So grab your camera, start experimenting, and watch your photography improve by leaps and bounds!